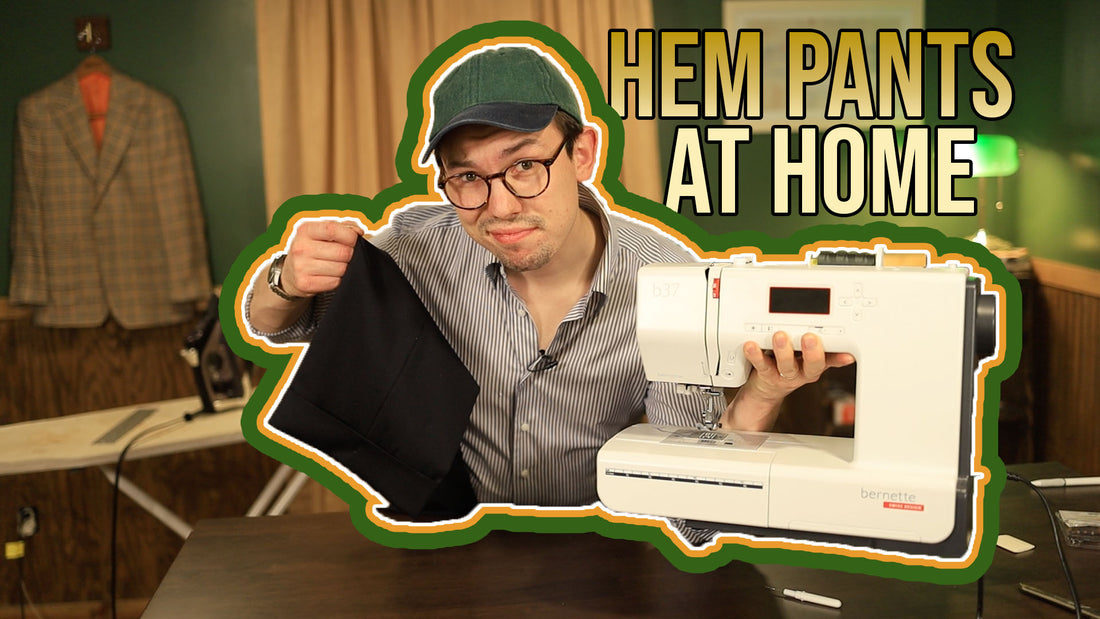
How to Hem Dress Pants at Home with a Simple Straight Stitch
Share
Tired of dealing with bad-fitting dress pants? You don’t need expensive alterations or specialized equipment to achieve a professional-looking hem. With this step-by-step guide, you can hem your dress pants at home using just a straight stitch and a few basic tools. Let’s get started!
Why Hemming Dress Pants Is Different
Unlike casual jeans with visible topstitching, dress pants often feature an invisible blind hem to maintain a clean, sleek appearance. While blind hemming requires a dedicated machine or hand stitching, you can achieve a stylish and functional hem by creating a cuff using a simple straight stitch.
What You’ll Need
- Measuring tape
- Fabric scissors or pinking shears
- Pins
- Iron
- Sewing machine with a straight stitch setting
- Matching thread
Step 1: Determine Your Hem Length
Start by determining how long you want your pants to be.
- Put the pants on and mark where you want the hem to fall. Typically, the hem should sit just above the shoe for a clean break.
- Use a measuring tape to find the outseam length (from the waistband to the hemline). In this example, the outseam is 39.75 inches.
- Mark this measurement on the fabric as your hemline.

Step 2: Plan Your Cuff
For this hem, we’ll create a cuff for added weight and style.
- From the hemline, measure down the desired cuff height (e.g., 1 ⅘ inches to 2 inches). Mark this as your cuff line.
- From the cuff line, measure an additional 3 inches. This allowance will hide the raw edge of the fabric. Mark this as your cut line.

Step 3: Cut and Prep the Fabric
Using your cut line as a guide:
- Cut off the excess fabric
- If you’re using pinking shears, you can cut directly along the line to prevent fraying.
- If using straight scissors, add an extra ¼ to ½ inch for a fold-over edge.
- Press the raw edge under by ½ inch to create a clean fold.

Step 4: Sew the First Fold
- Turn the pants inside out.
- Fold the fabric up to your first cuff mark (the line in the middle) and pin in place.
-
Sew a straight stitch around the edge of this fold to secure it. Start at a side seam for a clean finish.


Step 5: Form the Cuff
- Turn the pants right side out.
- Fold up the amount of cuff you marked earlier (e.g., 2 inches). Make sure the seams align perfectly.
- Pin the cuff in place and press it flat.

Step 6: Secure the Cuff
- Use a technique called stitching in the ditch to secure the cuff. This involves sewing directly into the seam line where the cuff meets the pant leg, making the stitches nearly invisible.
- Use matching thread for a seamless look and stitch carefully to avoid visible stitches.

Step 7: Final Press
Give the pants a final press to smooth out the fabric and set the cuff in place. This will ensure a polished, professional appearance.
The Result
You now have a clean, tailored hem on your dress pants using only a straight stitch. The inside will look neat, and the outside will showcase your stylish cuff.

Need More Help? Check out Primo Tailoring in Erie, PA for the best tailoring around!
